Snow Foam Explained: How to Use It for a Safe Wash
Most wash scratches happen when you first touch the paint. Here's what snow foam does, how to use it properly, and how it fits into a safe, scratch-free wash routine.

- Difficulty
- Beginner
- Time needed
- 10–15 minutes for the pre-wash
- Products used
- 4 products
Key takeaways
- Snow foam is a pre-wash: it loosens dirt so you can rinse most of it off before any contact.
- Apply it to a dry car, from the bottom up, and never let it dry on the paint.
- It doesn't replace the main wash. Follow it with a two-bucket shampoo wash.
Most swirl marks and fine scratches aren't caused by bad products. They happen the moment a wash mitt drags grit across the paint. The easiest way to avoid that is to get as much dirt off as possible before you touch the car at all, and that's exactly what snow foam is for. Here's how it works and how to use it properly.
What does snow foam actually do?
Snow foam is a concentrated pre-wash that you dilute and apply as a thick foam. It clings to the bodywork, softens and loosens road film and dirt, and then gets rinsed away, taking a large share of the grime with it. What's left for the wash mitt is much less, so there's far less to drag across the paint.
Our Neutral Snow Foam has a neutral pH, so it's safe on waxes, quick detailers and ceramic coatings. It won't strip the protection you've already paid for.
Foam lance or pump sprayer?
| Foam lance | Pump sprayer | |
|---|---|---|
| Needs | A pressure washer | Nothing else, just pump by hand |
| Foam | Thick, clinging foam | Wetter, lighter foam |
| Speed | Covers a car in a couple of minutes | Slower, one panel at a time |
| Best for | Regular home washing with a pressure washer | Flats, shared driveways, no pressure washer |
Both work. A lance on a pressure washer gives the thickest foam and the fastest coverage; a pump sprayer is cheaper and quieter and still loosens a lot of dirt.
How to use snow foam, step by step
- Do the wheels first. Clean them before anything else so splashback lands on dirty panels. See our guide to cleaning alloy wheels.
- Mix the foam. Dilute it with water, usually 1:10 in a foam lance on a pressure washer. A stronger mix gives a thicker foam; our Neutral Snow Foam is safe even at 1:1.
- Apply to a dry car, bottom up. Start at the lower panels, where the dirt is heaviest, and work upwards so the foam has the longest dwell time where it's needed most.
- Let it dwell. Leave it for a few minutes to soften the dirt. Don't let it dry, especially in sun or wind.
- Rinse top down. Rinse thoroughly, preferably with a pressure washer, working from the roof downwards.
- Move on to the contact wash. Wash with Shampoo Orangeade at around 25 ml per 10 litres of water, using the two-bucket method with a grit guard, starting from the roof.
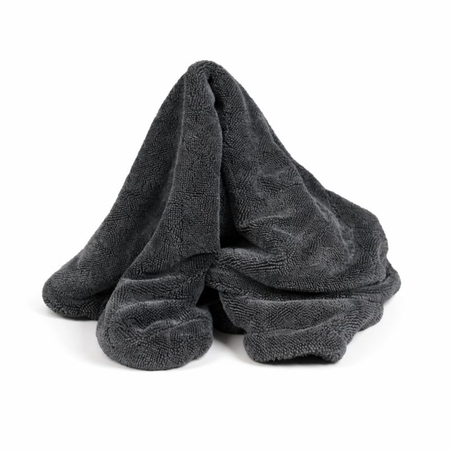
- Rinse and dry. Rinse again and dry with a soft drying towel to avoid water spots.
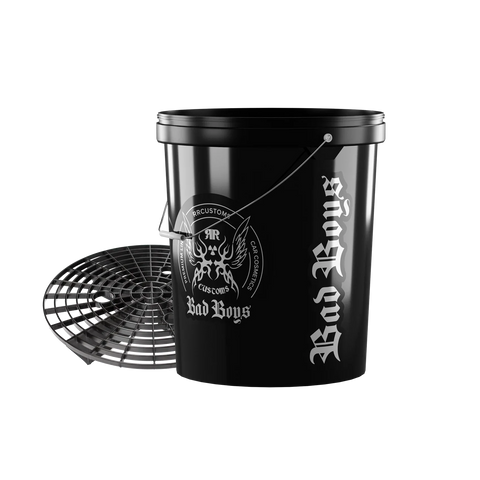
Pro tip: pair the foam with the two-bucket method. One bucket holds your shampoo, the other clean water for rinsing the mitt, each with a grit guard at the bottom. Our Detailing Bucket With Grit Guard is made for exactly that.
A note on coloured show foam. Our Colored Show Foam Box is designed mainly for showcase and marketing. Some colours can leave a tint on matt surfaces for several weeks, so keep it off matt paint, wraps and unpainted trim if you're unsure.
Common mistakes to avoid
- Foaming in direct sun. The foam dries on the paint before it can do its job.
- Expecting it to do everything. Snow foam loosens dirt; it doesn't replace the wash or remove bonded contamination.
- Rinsing too soon. Give the foam a few minutes to work.
- Skipping the grit guard. Clean foam followed by a dirty mitt undoes the benefit.
The less dirt your mitt ever touches, the fewer swirl marks you'll ever have to polish out.
Frequently asked questions
Do I need a pressure washer for snow foam?
No. A foam lance on a pressure washer gives the thickest foam, but a pump sprayer works well too and is a good low-cost option.
Will snow foam strip my wax or ceramic coating?
Not a neutral one. Our Neutral Snow Foam has a neutral pH and is safe for waxes, quick detailers and ceramic coatings.
Can I just use snow foam and skip the shampoo?
No. Snow foam is a pre-wash. It loosens and removes much of the dirt, but a proper contact wash with shampoo still needs to follow.
Should I apply snow foam to a wet or dry car?
To a dry car. The foam clings better and works more effectively on dry panels.
Why apply from the bottom up?
The lower panels are the dirtiest. Starting there gives the foam the longest time to work where it's needed most, and you can see full coverage as you go.
Ready for a safer wash? Everything used in this guide is below. Buy 2 or more and save up to 20% automatically.
Ready for the next step? Read how to remove iron fallout, or browse the full Wash & Snow Foam range.
Products used in this guide


Get the full kit and save
Mix any products: 2 items = 10% off · 3 items = 15% off · 5 items or £50 = 20% off. Applied automatically at checkout.